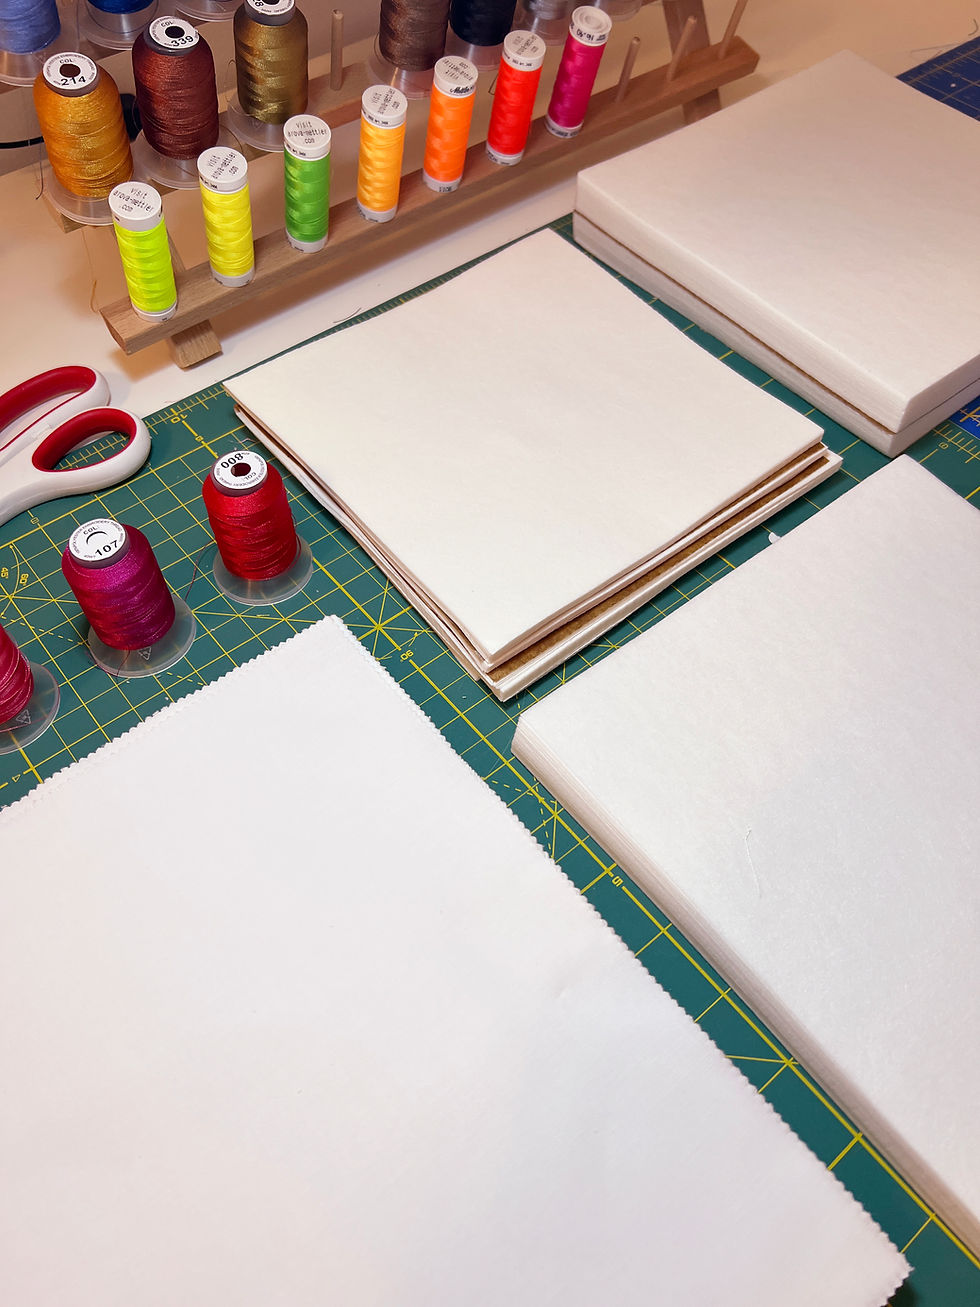
In my years of experience with machine embroidery, I have learned that no matter what type of machine you are using - a multi-needle commercial machine or a single-needle home embroidery machine - your choice of stabilizer can make or break your project. Stabilizer provides support and structure to your fabric during the embroidery process, ensuring the stitches remain even and the design stays crisp. In this guide, I will tell you how to choose the right backing for your embroidery project and list my favorite backing and links to purchase. I buy all of my embroidery supplies almost exclusively from AllStitch Machine Embroidery Supplies.*
There are some key factors to consider when choosing the best stabilizer for your machine embroidery project.
1. Fabric Type
The fabric you choose plays a significant role in determining the type of stabilizer required. Different fabrics possess varying levels of thickness, stretch, and texture. For instance, delicate fabrics like silk or lightweight linen demand a lightweight, tear-away stabilizer to prevent damage. In contrast, heavy fabrics such as denim or canvas necessitate a sturdy cut-away stabilizer to manage the weight and maintain the integrity of the design.
2. Design Complexity
The complexity of your embroidery design is another pivotal factor. Intricate designs with a high stitch count often require more substantial stabilizers to withstand the intense stitching. If your design involves multiple layers of thread or intricate details, opt for a stabilizer that offers excellent support and minimizes fabric distortion.
3. Use of Finished Project
Are you sewing a baby blanket that is going to be washed over and over and slept with every night? You'll want to choose a heavier tear-away stabilizer that will withstand heaving-washing, but not be visible on the back of the blanket. Are you sewing on a canvas tote bag? Choose a medium weight cut-away stabilizer since the back of the design won't be visible. The weight of cut-away depends on the weight of the canvas and your preference.
Types of Stabilizers
Cut-Away Stabilizers
These stabilizers are known for their durability and are ideal for fabrics prone to stretching or warping. Cut-away stabilizers remain attached to the fabric even after embroidery, providing ongoing support. Cut-away stabilizers come in several different weights and varieties. They also come in a variety of sizes and weights. You can buy pre-cut squares to fit your frames (I buy 8" squares to use with my 5.5" Mighty Hoop when I'm sewing chest logos on polos and hoodies. If I'm sewing on a performance fabric, I use backing specifically designed for performance fabric. I see lots of Facebook posts asking for help on how to get crips designs on performance fabric - choosing a performance backing is the answer. Cut-away backing is also sold by the roll.
Typically I cut from a 15" roll when I'm sewing very large designs on my 11" x 13" Mighty Hoop.
Tear-Away Stabilizers
Tear-away stabilizers are suitable for projects where the excess stabilizer can be easily removed after embroidery. They are excellent for lightweight fabrics and items where the back of the design will be visible, such as baby blankets and lovies. Typically, I buy #20 weight tear-away in pre-cut squares and #20 weight in a 15" roll. I use the pre-cut squares with my Brother PE535 to sew all of my samples for sale on my website. Find my review of the Brother PE535 embroidery machine here.
Wash-Away Stabilizers
These stabilizers dissolve in water, making them perfect for projects where no residual stabilizer should remain. They are ideal for lace or free-standing embroidery. Here is a good resource for purchasing wash-away stabilizer.
Heat-Away Stabilizers
These stabilizers disappear when subjected to heat, making them a great choice for fabrics sensitive to water. They are often used for fabrics that can't be washed or are prone to watermarks. I recently used heat away when sewing on delicate satin ribbon and it worked nicely. Here is a good resource for purchasing heat-away stabilizer.
Cap Backing
Yes, you need backing designed for caps to sew on caps! Twill dad-caps are very popular right now, and the key to sewing on these floppy caps is backing. I double up on cap backing for the best outcome. If I'm sewing on a more-structured cap such as a Richardson or a trucker, doubling-up isn't necessary and one sheet of backing usually does the trick. Here is a good resource for purchasing cap backing.
Notes to Remember Before Sewing
Hooping your project tightly is ESSENTIAL. Make sure your backing is large enough to cover the back of the frame with room to spare.
Test your backing! Sew some samples to see how different fabrics sew with different backings. I keep many test samples in my studio for reference.
So much of embroidery is experimentation and personal preference. There is usually not only one way to achieve a beautiful outcome. Even now, I'm still learning and I hope to share tips and tricks along the way.
Many of you have already downloaded my Fall Pumpkin Monogram Frame when you subscribed to my blog. Check back often, as I plan to do more free monthly free downloads.
Happy sewing!
Beth

*I am affiliated with AllStitch Embroidery Supplies. I may receive a small commission if you purchase supplies using the link provided.
Comments